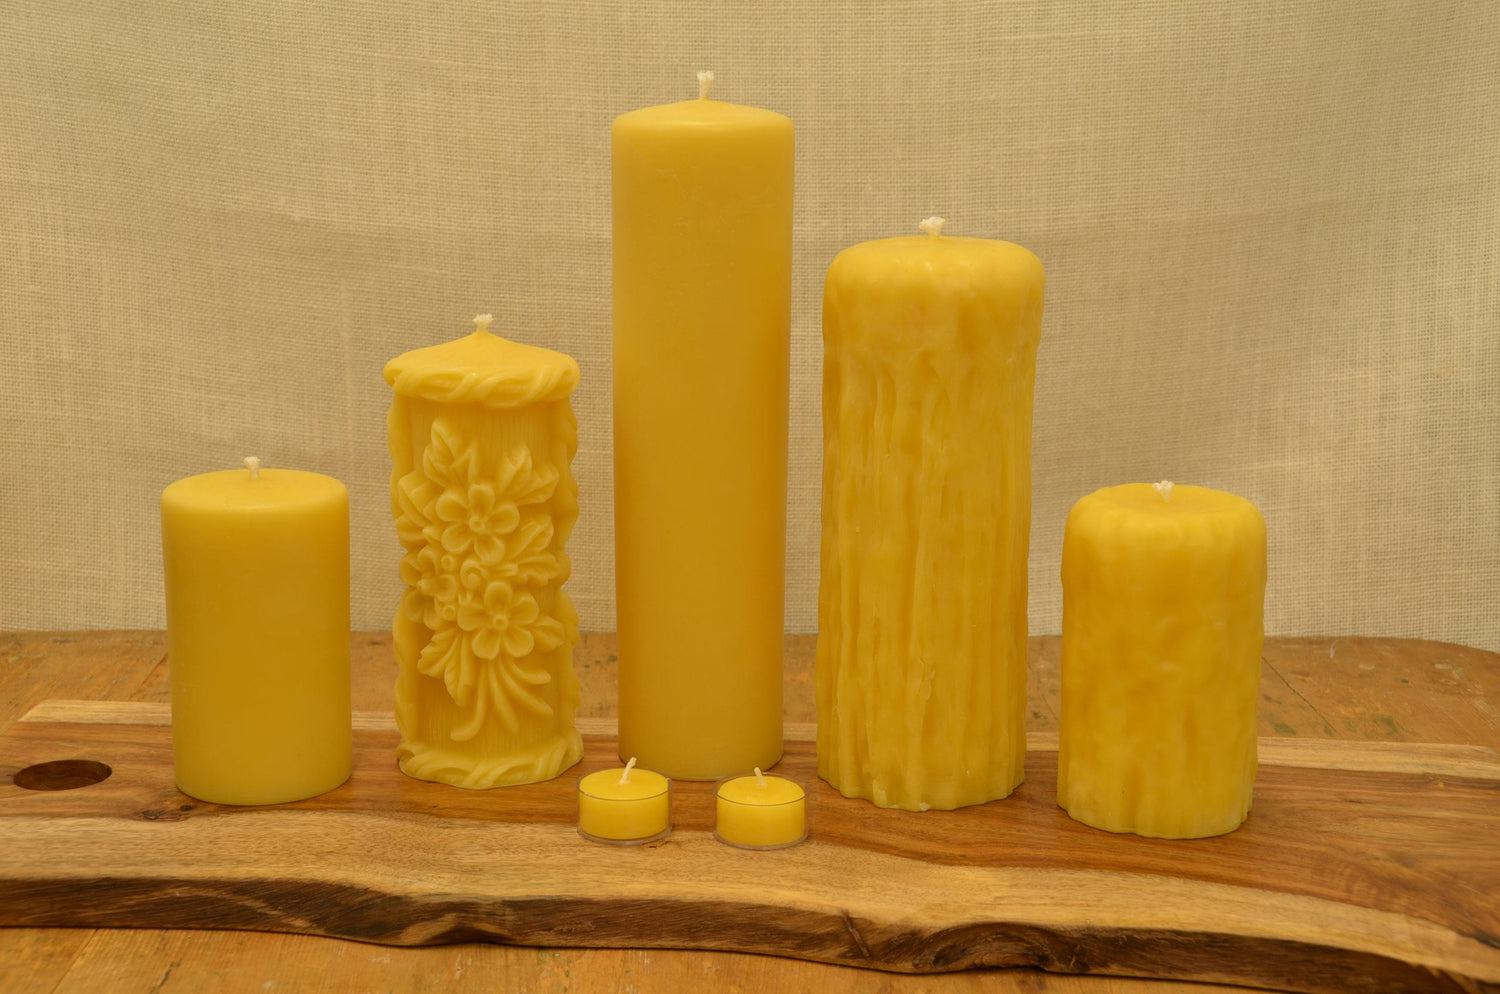
Candle Burning & Care Tips
Candle Safety
- Never leave a burning candle unattended.
- Burn candles on a flat, heat resistant surface. Always use a candle holder designed for the specific type of candle being burned.
- Keep burning candles away from drafts.
- Never burn a candle near anything flammable.
- Keep candles out of reach of children and pets.
Candle Burning Tips
-
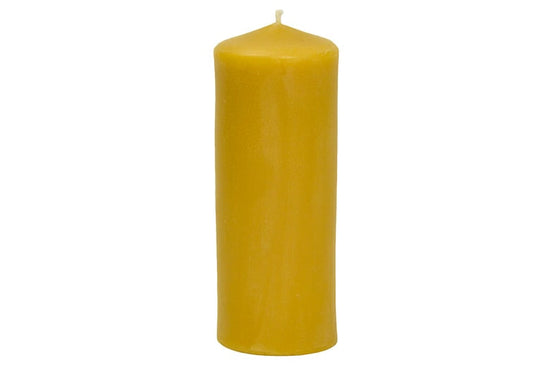
Pillar Candles
Before Lighting
Before lighting: Trimming the wick is only necessary when it becomes too long, which may result in a bit of black smoke coming off the top. If necessary, trim wick to ¼” and ensure wick is straight; clean excess dust and dirt from the top of the candle with a lint free cloth.Burning
Light candle at the base of the wick.For proper burning, pillars should be allowed to burn long enough to let the wax pool to the outer edge of the candle. Typically a candle should be burned not less than 1 hour burn time for each 1” in diameter. For example, a 2” diameter candle should have a minimum burn time of about 2 hours per session. If the candle is not allowed to pool to the edge, the candle will burn a hole down the center of the candle. As the candle burns, folding the edges into the wax pool helps create an even burn.
To Extinguish
To extinguish the candle use a wick dipper (a metal rod with a curved end) to dip the wick into the wax pool and immediately straighten the wick back up ready for the next burn. -

Candlesticks and Tapered Candles
Before Burning
These candles must fit securely into a candle holder.Before lighting: Trim wick to ½”.
Burning
Do not burn candles in an area exposed to drafts. A draft will cause a candle to flicker and my cause dripping.
To Extinguish
Use a smokeless snuffer to extinguish a tapered candle.Extinguish candle before the flame comes in contact with the candle holder to prevent damage.
-
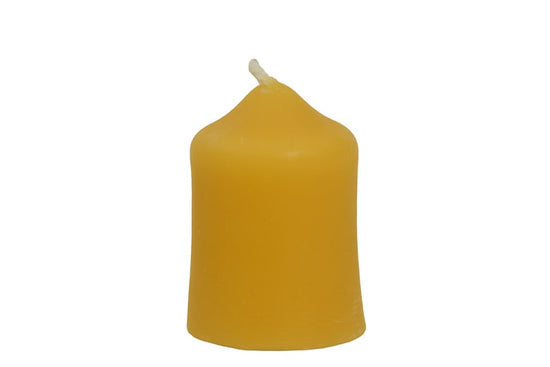
Votive Candles
Before Burning
Votive candles require a properly designed heat resistant votive holder. Votive candles burn completely and will not contain their wax pool.
Burning
Light candle at the base of the wick.
To Extinguish
To extinguish the candle use a wick dipper (a metal rod with a curved end) to dip the wick into the wax pool and immediately straighten the wick back up ready for the next burn.
-
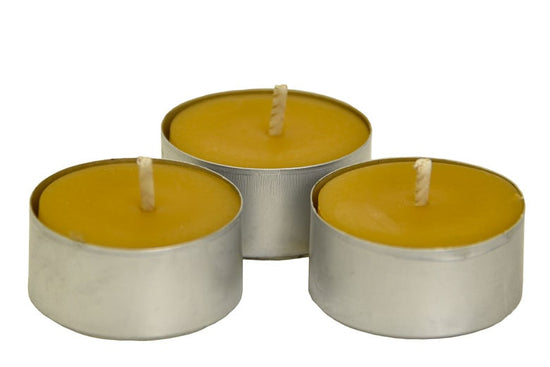
Tea Light Candles
Before Burning
Tea light candles must be burned in their heat resistant containers as they are designed to fully liquefy.
Burning
Tea light candles are meant to burn continuously until completed. Note that tea lights may not re-light if extinguished with less than half of the wax left.
To Extinguish
To extinguish the tea light (if necessary), use a wick dipper (a metal rod with a curved end) to dip the wick into the wax pool and immediately straighten the wick back up ready for the next burn.
Beeswax is not just for candles !
Use this text to share information about your brand with your customers. Describe a product, share announcements, or welcome customers to your store.
Here are a few examples:
- Skin care products – creams, lotions, soaps, lip balms, healing salves, mustache and dread-lock wax
- Lubricant– zippers, drawers, hinges, windows, reeds and couplings of wind instruments, anchor bolts for high tension transmission towers, coat screws and nails to prevent wood splitting
- Sealing & protecting – furniture polish, leather dressing, shoe polish, natural tree grafting wax
- Weather & water proofing – hats, jackets, boots, backpacks
- Food preparation – Food safe coatings for food prep surfaces and children’s toys, sealing for jams and jellies, food wrap
- Toys – children’s toys, crayons
- Waxing – surf boards, skis, toboggans, bow strings
- Artwork – ornaments, textile designs (Batik), Ukrainian art of decorating eggs, casting, glass etching
- Medicine – Reconstructive surgery, dentistry (from centuries gone by)
- Beekeeping – Used on foundation for new honeycomb frames
Beeswax continues to be popular for DIY projects
Some of today’s favourite Do It Yourself (DIY) projects using 100% pure beeswax:
- Beeswax lip balm
- Beeswax soap
- Beeswax body lotion
- Beeswax sun screen
- Beeswax ornaments
- Beeswax candles
- Beeswax crayons
- Beeswax food wrap
- Beeswax furniture polish
- Beeswax leather dressing
- Beeswax modeling clay
Please share your favourite beeswax DIY project on our blog
What is beeswax
How Beeswax is Made
Beeswax is produced by honeybees from glands in their abdomens. Interestingly, honeybees are the only creatures that make their own home construction materials.
Honeybees ingest honey to make beeswax. It takes approximately 7 kg of honey to produce 1 kg of wax. Once honey is ingested, the bees hang inside the colony for 24 hours while their bodies convert the honey into wax. The wax is secreted out of eight glands on the underside of the bee’s abdomen. When the wax leaves the bee’s body and comes in contact with the air, it causes the wax to solidify into dinner-plate shaped flakes. The bees then grab these wax plates with their legs, bring them up to their mandibles, and chew them to soften the wax. Then they carefully mold the wax into the perfect honeycomb structure. The honeycomb is then used to store honey and bee pollen, and as a place to raise honeybee brood.
Beeswax Compounds
Beeswax is a tough wax formed from a mixture of several compounds including: hydrocarbons, monoesters, diesters, triesters, hydroxy monoesters, hydroxy polyesters, acid esters, acid polyesters, free acids, free alcohols, and other unidentified substances. It has a very stable chemical structure that remains constant over time, as illustrated by usable wax found in ancient tombs.
Some useful properties of beeswax are:
- Insoluble in water (and is less dense than water)
Temperature characteristics:
- < 18 C is brittle
- 35 – 40 C is soft and pliable
- 65 C melting point
Wicks & Wax
Non-Toxic Wicks
Our candles use only top quality 100% cotton wicks. The wick size is selected for each size/type of candle to optimize candle burn.
100% Pure Beeswax
Our candles use only 100% pure Canadian beeswax. No artificial scents or dyes are added to the beeswax. It’s just beeswax!
Note, always look for 100% pure beeswax products as labelling laws allow wax which is only 51% beeswax to be labelled as “pure beeswax”.
Beeswax Colour
Beeswax starts out white when it is first produced by the bees. As the bees use the comb for storing honey, it darkens over time and becomes more aromatic depending upon the nectar source (variety of honey) and the length of time that one or more crops of honey are stored. Honeycomb that is used to raise brood is typically darker from propolis and pollen used in the brood frames. The images show different shades of wax from the hive.
Each batch of beeswax, like honey or wine, has its’ own distinct characteristics of colour and aroma. Therefore, wax that goes through a normal filtering process to take out foreign particulates, will range in colour from light yellow to dark brown.
Wax may be further filtered using a natural charcoal and clay filtering process to produce light yellow candles. If “new” cappings wax is used, filtering can produce a near white wax. This is still pure natural beeswax! In general, more filtering provides a lighter brighter wax but usually has less natural “honey” aroma.
How Beeswax Cleans the Air
Burning beeswax produces negative ions that circulate in the room and attract pollutants, in much the same way that a magnet attracts iron fillings. Dust, odours, moulds, bacteria, viruses, and other toxins in the air are positively charged keeping them suspended in the air. When the negative ions generated by burning the beeswax candles combine with the positively charged pollutants in the air, the charge on the airborne particles are neutralized and they are no longer suspended and fall to the floor. Beeswax candles actually cleans your air thus reducing toxins that are breathed in. However, you still have to vacuum your house. In addition to your house smelling clean and fresh, allergy and asthma suffers may really notice a difference.
Beeswax vs Paraffin
Beeswax candles are clean burning and as described above, burning beeswax produces negative ions that circulate in the room and attract pollutants, thus actually cleaning the air. You can burn beeswax in an unventilated room without fear of pollution. In fact, many people report that burning a candle in the bedroom for 30 minutes or so before falling asleep produces a more restful sleep.
Paraffin, on the other hand, is a petroleum waste product, made from the sludge left over from the gasoline and petrochemical refining process. The product is bleached (using carcinogens such as benzene and toluene) and other toxic compounds are used to add colours and fragrances to turn this petro waste into a marketable product for the general public. Burning paraffin produces toxic combustion by-products, many of which are known to be carcinogens. Breathing the fumes from burning paraffin candles is essentially the same as breathing the exhaust fumes from an internal combustion engine. Paraffin produces no negative ions and so only adds to the pollutants in your home.
Candle Bloom
The dull white powdery finish that appears on the surface of pure beeswax (over time) is referred to as “Bloom”. It is a characteristic of pure beeswax candles, and bloom is a sign of the purity of beeswax candles.
Bloom is a natural process and is caused by lower melting point (softer) waxes coming to the surface. Some people love the rustic look of candles with bloom. For those who prefer their candles smooth and shiny, bloom can be easily removed by blowing warm air from a hair dryer over the wax (being careful not to melt the wax), or by buffing the candle with a soft cloth or nylon stocking.
Candle Burn Times
Candle burn times will vary somewhat, but under recommended burning conditions (eg. trimmed wick, no drafts) the following table represents typical burn times for a variety of 100% pure beeswax candles.
| Candle Style | Approximate Burn Time (Hours) |
|---|---|
| Tea Lights | 4 |
| Votives | 14 – 16 |
| Tapers (10”) | 12 – 14 |
| Round Pillar 2” x 3” | 30 – 35 |
| Round Pillar 2” x 5” | 60 – 80 |
| Round Pillar 2.5” x 7” | 90 – 100 |
| Round Pillar 3” x 5” | 90 – 100 |
| Round Pillar 3” x 12” | 150+ |

